I know it's been a long time since I said I was going to post pictures of my daughter's play kitchen, but here they are! When we gave it to her, she had just turned 2, and a year later it is still a really great size for her and her friends. I think about a year from now, I might have to do something to make it a little taller, but for now, it's still perfect.
The counter top and backsplash are made from the leftover linoleum countertop we had when we redid our kitchen. There was a rectangle scrap we had from cutting out the hole for our sink, and that's what I used. I imagine local countertop stores have tons of scraps of the same sort that they just throw out or sell really cheap.
I added wood veneer tape around the edges for a little more polished look (and to prevent splinters) and caulked the joint where the backsplash and counter met.
The burners were a pain in the patootie! It took me a long time to decide what to make them out of. I wandered every isle of Lowe's about seven times looking for something that would work, until I finally decided on
PVC drain grates. I had to cut the circular bottoms off of them, but I think it was well worth it. I cut spirals out of red construction paper, glued them to squares of black construction paper, glued those to the back of the flat drain grates, and then glued the grates down onto the countertop with some sort of construction adhesive my husband had laying around the house. So far, they've lasted fabulously.
If I were awesome, I'd have organized the food all tidy. I guess I'm not. :)
Here's a picture of the cabinet upside so you can see the hole we cut for the "sink" and faucet.
The sink was a $6 metal bowl from target.
The faucet was a really nice one. I asked one of the Lowe's attendants if I could have one of the display models. I had noticed they had two carts full of display faucets that they appeared to be discarding.
Maybe I got ripped off, because they still charged me ten bucks for them when not ten minutes later, the lot of them probably went into the dumpster, but it's a really nice faucet and I love it. It's a bathroom faucet, but in the context of a tiny kitchen fits right in.
We did get the present done in time to give it to her for Christmas, but we did end up staying up till the wee hours of the morning finishing it up!
Christmas Morning:
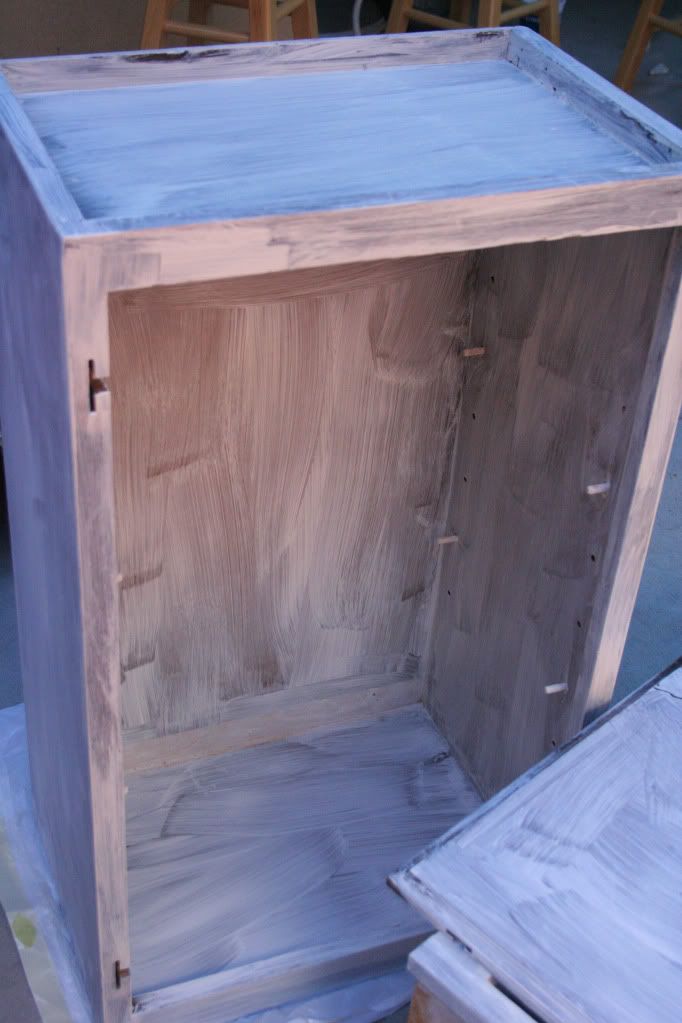
Before:
After:


