After the primer, I did about 2 coats of cheap walmart paint before I gave up and used some paint from Kwalls. I did not buy paint for anything in this project. I only used what was on hand.
Showing posts with label play kitchen. Show all posts
1.02.2011
Play Kitchen: Painting
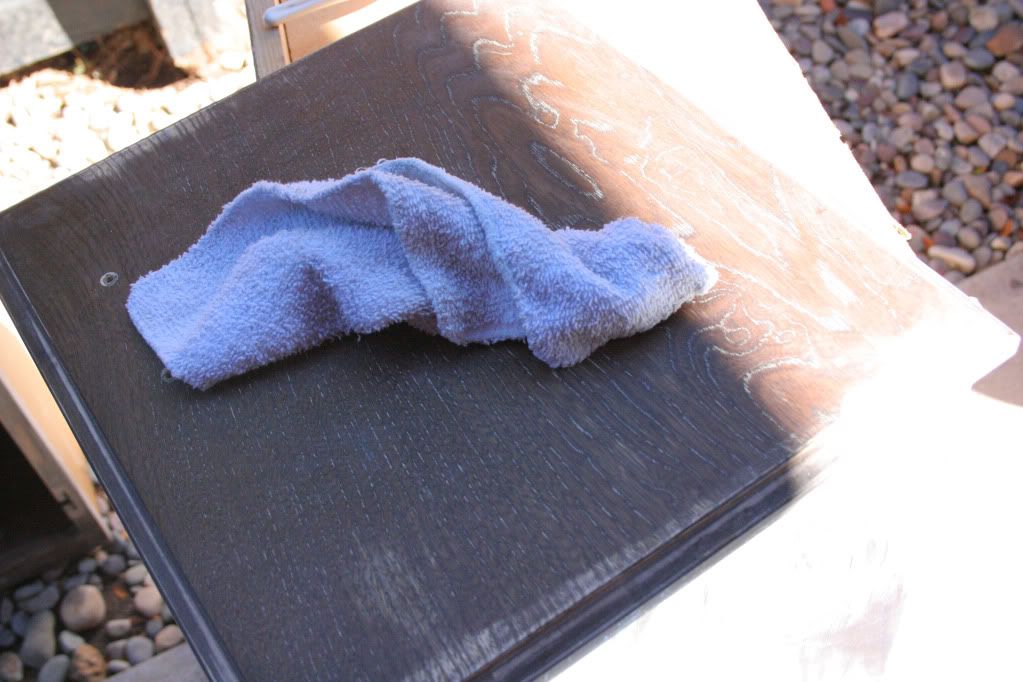
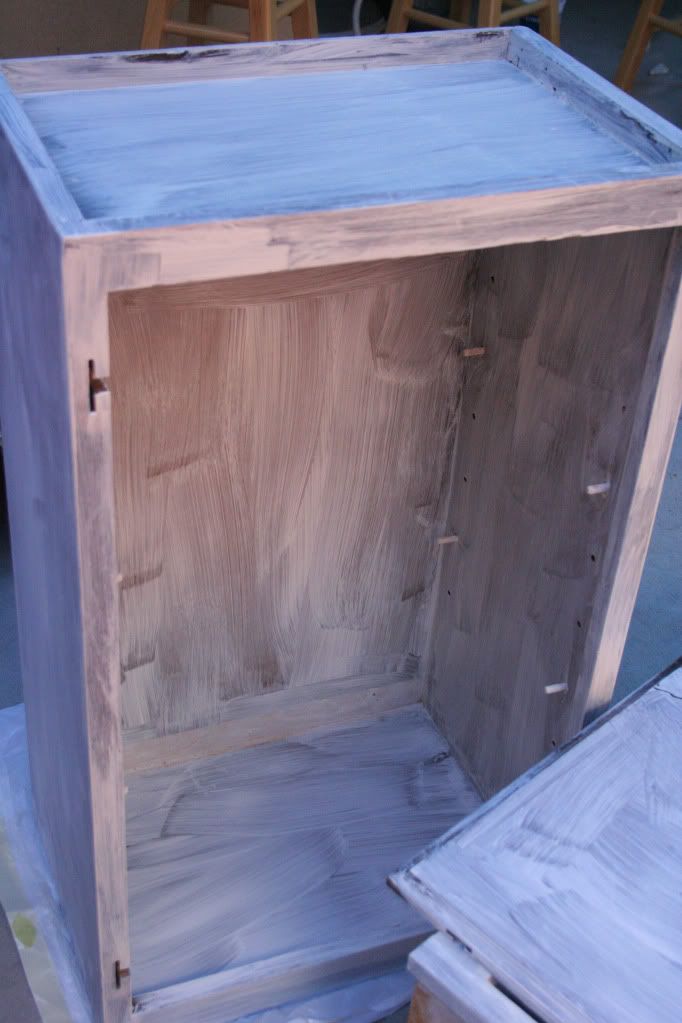
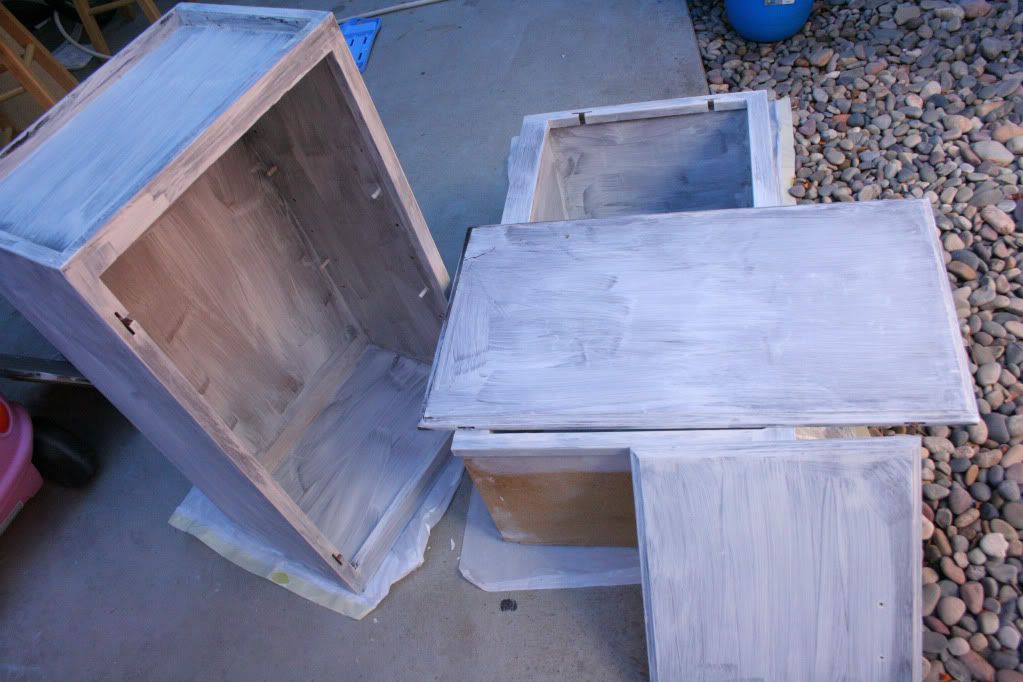
After sanding and cleaning the cabinets very well, I painted them all with a coat of primer. I skipped one of the doors for some reason, and I can tell you that I'm definitely a fan of primer. It makes everything look so much better.
After the primer, I did about 2 coats of cheap walmart paint before I gave up and used some paint from Kwalls. I did not buy paint for anything in this project. I only used what was on hand.
12.24.2010
Play Kitchen: Sanding
Sanding, and Sanding, and more sanding. Whew!
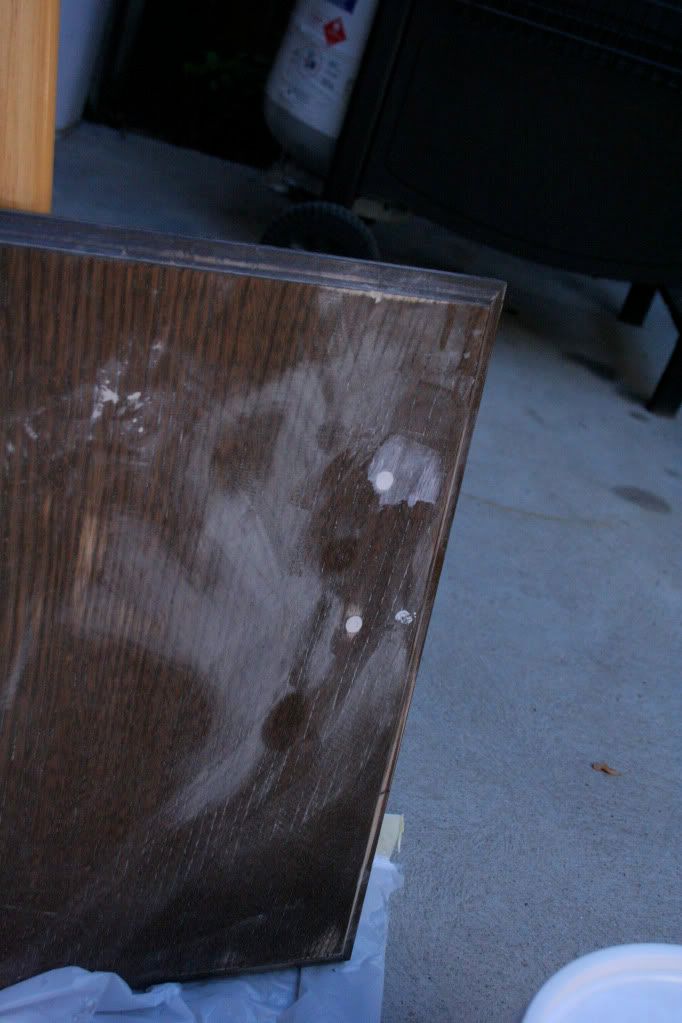
I used paint stripper for one cabinet, but gave up on that and used elbow grease for the doors and the other cabinet. I guess only time will tell which was the better choice. I'll know if the paint chips off or scratches more easily which one to do next time. (Wait, next time??)
I sanded everything with our little power sander, mostly just enough to get the shiny varnish off.
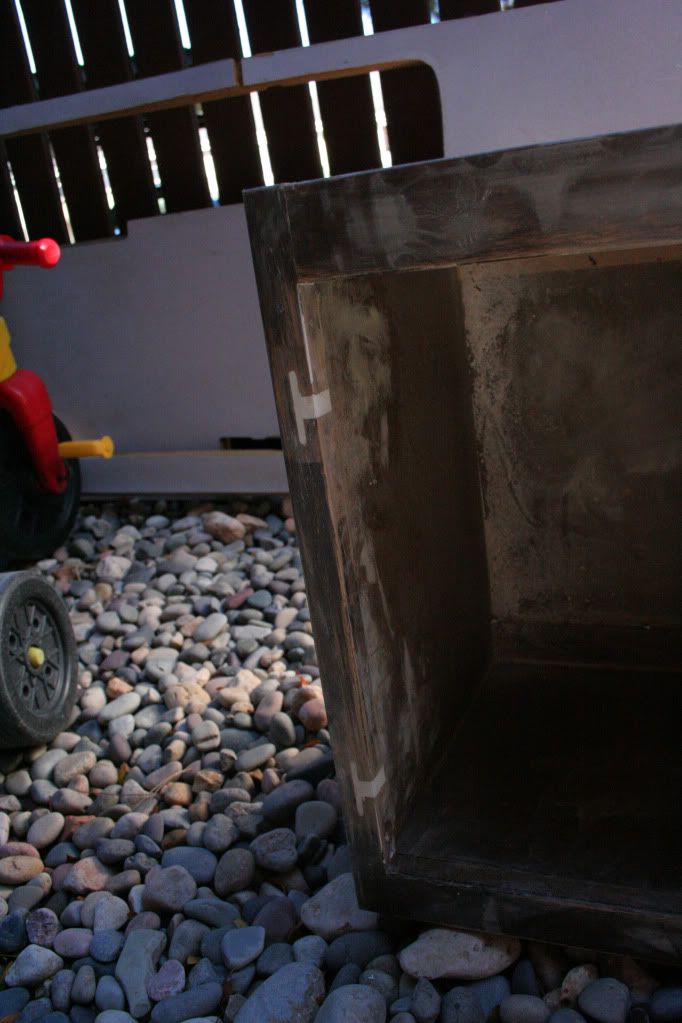
One side of the shorter cabinet is going to be the oven, which means I need the door to hinge at the bottom on not on the side. The hinges on these cabinets are really weird, so I had these big holes to fill on this side. I used drywall mud we had leftover from our basement to fill them in. When they were dry I sanded them flat. It took a couple of coats, but I eventually got it.
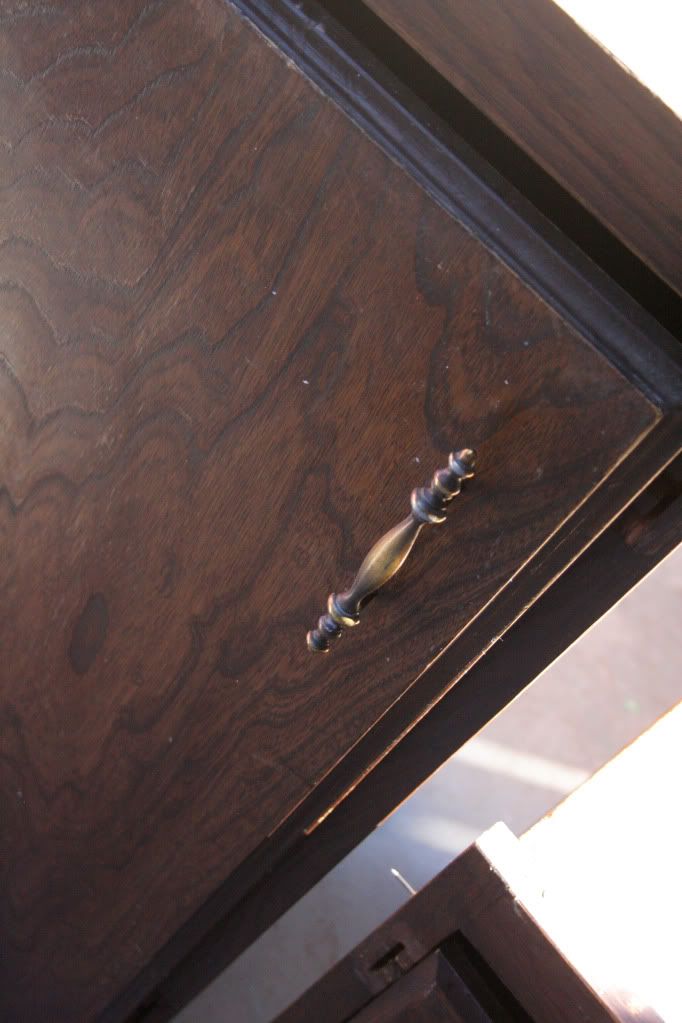
This also meant I needed to fill in the original handle holes on the door. Easy!
Next up: primer!
I used paint stripper for one cabinet, but gave up on that and used elbow grease for the doors and the other cabinet. I guess only time will tell which was the better choice. I'll know if the paint chips off or scratches more easily which one to do next time. (Wait, next time??)
I sanded everything with our little power sander, mostly just enough to get the shiny varnish off.
One side of the shorter cabinet is going to be the oven, which means I need the door to hinge at the bottom on not on the side. The hinges on these cabinets are really weird, so I had these big holes to fill on this side. I used drywall mud we had leftover from our basement to fill them in. When they were dry I sanded them flat. It took a couple of coats, but I eventually got it.
This also meant I needed to fill in the original handle holes on the door. Easy!
Next up: primer!
12.23.2010
DIY Play Kitchen Part 1
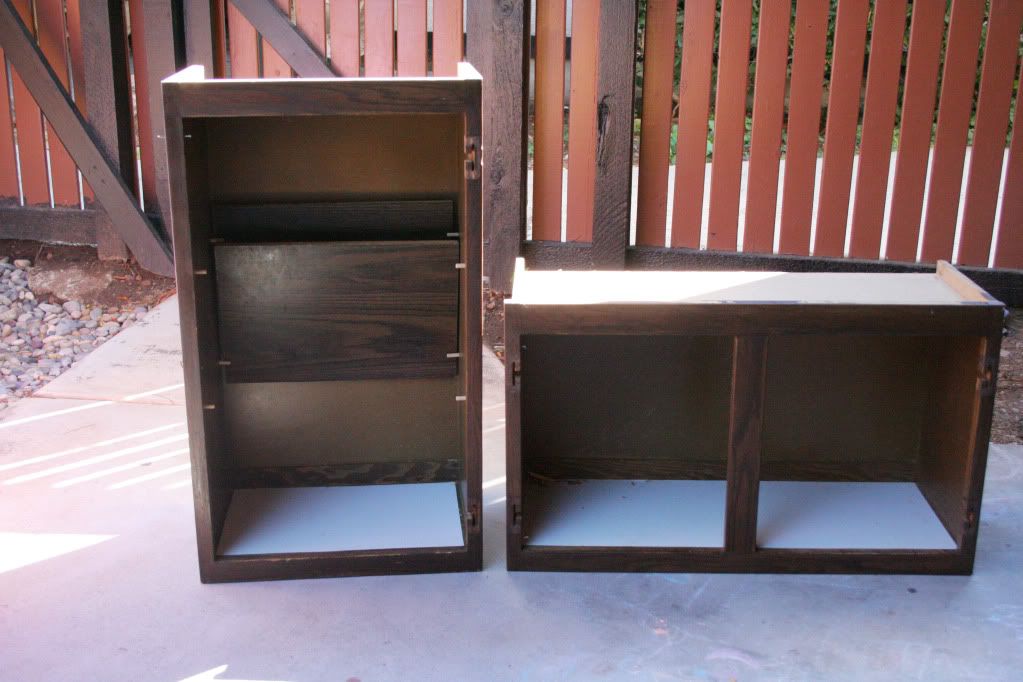
The beginnings of what will hopefully be an a-dorable play kitchen for my kidlette. A neighbor was tearing them out of her kitchen. I should clarify: neighbor suggests I actually knew the person. Someone I live near was tearing her kitchen cabinets out. I was heading out for a jog and saw the guys carrying them out of her house and loading them onto a truck. Inspiration struck (and by inspiration I mean all the time I'd spent drooling over everybody else's DIY play kitchens kicked in) and I saw my golden opportunity. Guess what? They let me have them for free-dizzle!
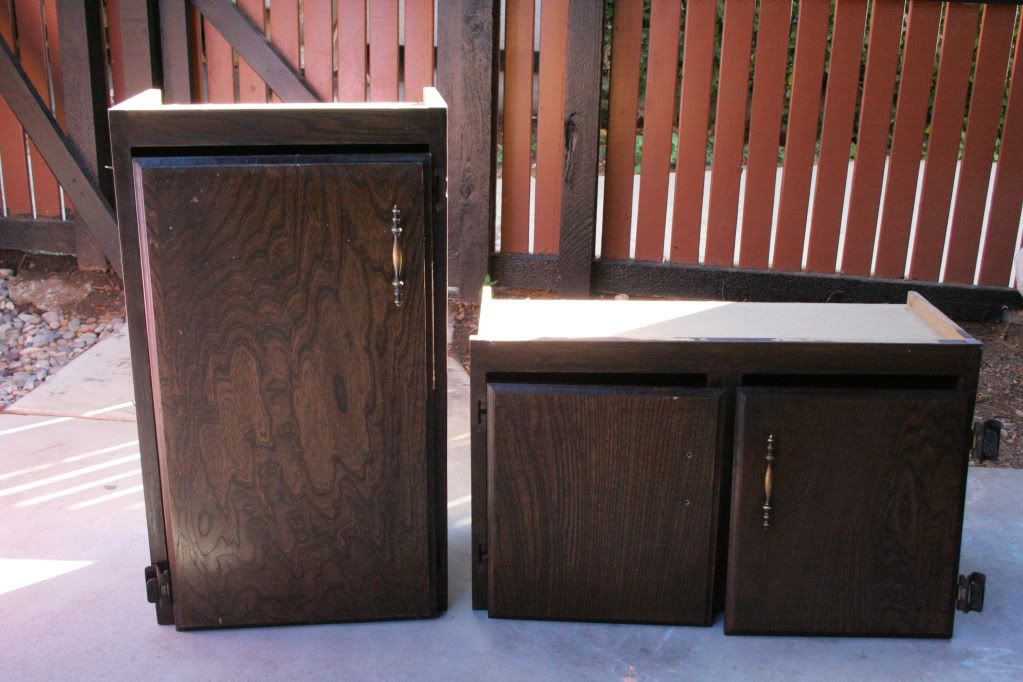
Here they are just as they came. Beauties. Tabula rasas. Full of raw play kitchen potential.
Stay tuned! They are almost finished, but I'm just now getting around to posting pics of what I did, so I'm going to do several posts on their transformation. Hooray!
Here they are just as they came. Beauties. Tabula rasas. Full of raw play kitchen potential.
Stay tuned! They are almost finished, but I'm just now getting around to posting pics of what I did, so I'm going to do several posts on their transformation. Hooray!
Subscribe to:
Posts (Atom)